Have you ever dreamed of having your own garden, but don’t have enough space? Maybe your apartment has only a small balcony, or your backyard is already filled. Don’t worry—you don’t need a sprawling lawn to grow fresh herbs, flowers, or even small veggies. With a vertical garden, you can grow upward instead of outward!
In this guide, we’ll show you exactly how to build a vertical garden step by step. It’s budget-friendly, beginner-friendly, and most of all—fun! Let’s dig in.
What Is a Vertical Garden?

Think of a vertical garden like a “living wall.” Instead of planting in wide garden beds, you stack plants vertically using shelves, containers, or wall planters. This space-saving method is perfect for:
- Small outdoor spaces like balconies or patios
- Indoor areas where you want to bring some greenery
- Anyone trying to grow plants in a creative way
Vertical gardening isn’t just practical—it’s strikingly beautiful too!
Why Build a Vertical Garden?

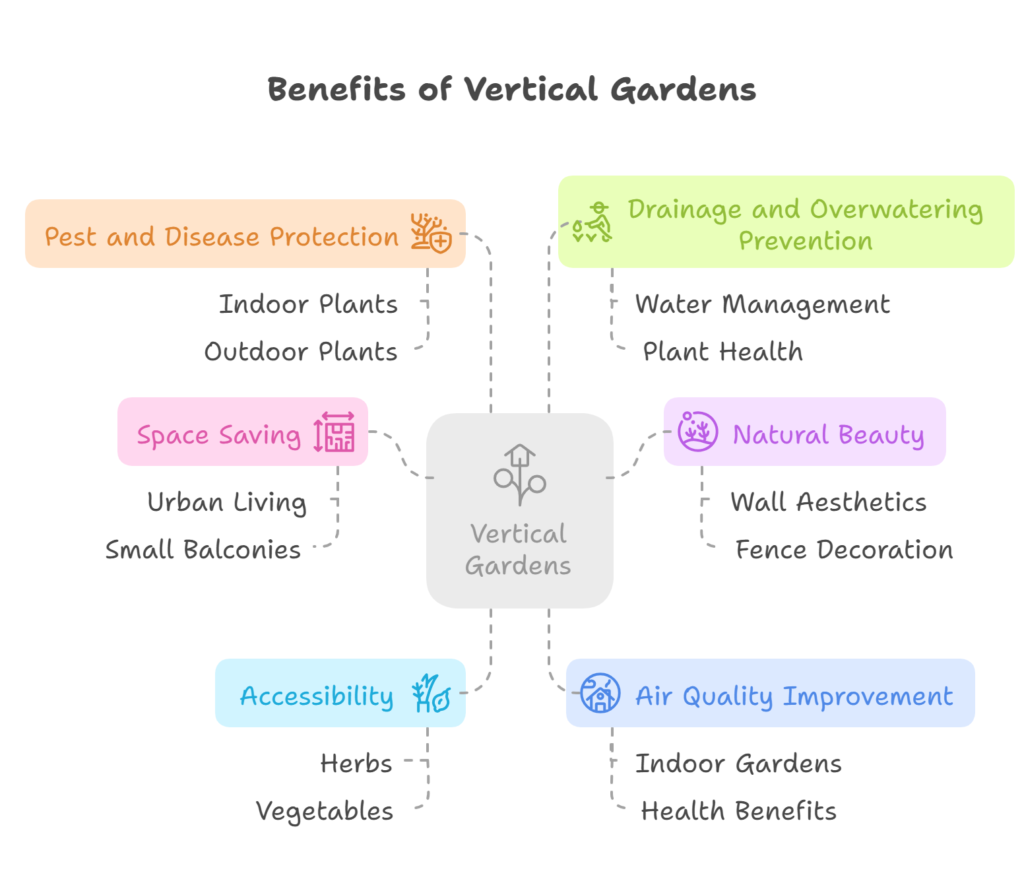
Aside from saving space, vertical gardens offer plenty of other benefits. Here are just a few:
- Add natural beauty to dull walls or fences
- Grow herbs and veggies within arm’s reach
- Improve air quality. Especially if you’re growing indoors
- Protect plants from certain pests and diseases
- Encourage drainage and prevent overwatering
Still wondering if it’s worth the effort? Imagine snipping fresh basil or mint straight from your wall in the kitchen—now that’s pretty rewarding!
Step-by-Step DIY Vertical Garden Guide
Building your own vertical garden doesn’t have to be complicated. With a few basic tools and some planning, you can have one set up over a weekend.

1. Choose the Right Location
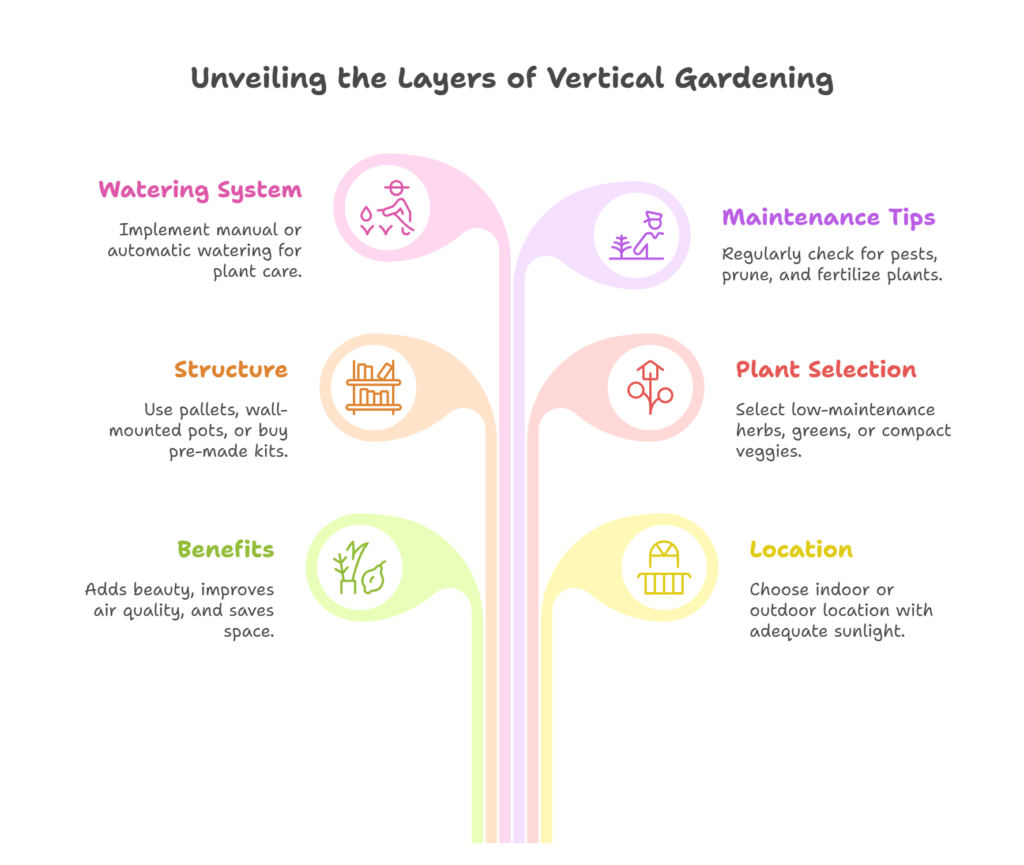
Start by deciding where you’ll place your vertical garden. Do you want it indoors or outdoors? Is it going on a wall, fence, or standing frame? Here are a few factors to keep in mind:
- Sunlight: Most herbs and veggies need 4-6 hours of sunlight per day.
- Accessibility: Make sure it’s easy to water and take care of your plants.
- Safety: If you’re hanging it up, ensure the structure can support the weight.
2. Decide on a Structure or Frame
There are tons of creative ways to build the frame of your vertical garden. Here are some ideas to inspire you:
- Pallet Garden: Repurpose an old wooden pallet as a wall planter.
- Hanging Shoe Organizer: Perfect for herbs. Just fill the pockets with soil and add plants!
- Wall-mounted pots or planters: Use hooks to secure lightweight containers to walls or fences.
- DIY Ladder Shelf: Create a ladder-style shelf using reclaimed wood or materials from a hardware store.
Not into the building? No problem—you can also buy pre-made vertical garden kits online or at garden centers.
3. Choose the Right Plants
This step is crucial! Not all plants work well in vertical setups. Choose ones that are low-maintenance and don’t need deep roots. Here are some popular choices:
- Herbs: Basil, parsley, thyme, mint, chives
- Leafy greens: Lettuce, spinach, kale
- Flowers: Petunias, pansies, marigolds
- Compact veggies: Cherry tomatoes, peppers, radishes
- Succulents (for decorative gardens): Great for indoor or low-water gardens
Quick tip: Make sure all the plants in your vertical garden have similar light and water needs. That way, caring for them is much easier!
4. Set Up Your Watering System
Watering a vertical garden can be a bit different than watering regular pots. Gravity causes water to drip down, which can help—but only if your setup accounts for it.
Depending on your structure, you can choose between manual or automatic watering.
- Manual watering: Use a watering can or spray bottle. Make sure you start from the top and let the water move downward.
- Drip irrigation system: A great option if you’re busy or traveling often. It gently waters each level without wasting water.
Check your plants regularly to ensure they’re not drying out—or soaking wet!
5. Plant and Arrange Your Vertical Garden
Now comes the fun part—planting! Start by adding soil to your containers or pockets. Then, gently place your plants in, patting down the soil around their roots.
Arrange your plants based on light and water needs. You might place sun-loving plants near the top and shade-lovers near the bottom.
Add labels if you’d like! Not only will it help you remember, but it can also give your garden a personal touch.
Tips to Keep Your Vertical Garden Thriving

Just like any garden, yours will need a little TLC from time to time. Here are some tips to help it flourish:
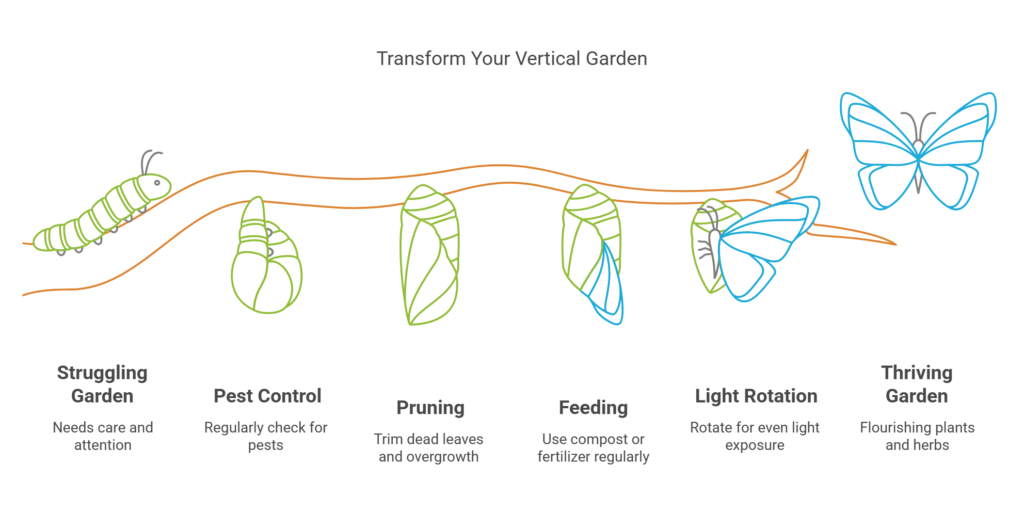
- Regularly check for pests—especially in warm months.
- Prune dead leaves and trim overgrown plants.
- Feed your plants with compost or liquid fertilizer every few weeks.
- Rotate indoor gardens to make sure all sides get even light.
I once built a vertical herb garden for my small apartment balcony. In just a few weeks, I had fragrant basil, bright green parsley, and even a small chili plant thriving. Not only did it save me trips to the grocery store, but it also became my favorite part of the home.
Final Thoughts: Start Small and Grow Bigger
Beginning your vertical gardening journey doesn’t mean going all out from day one. You can start with just a few planters on a sunny wall and expand as you learn what works. The key is to have fun and enjoy the process.
So, are you ready to roll up your sleeves and create a lush, green space for your home? Whether you’re planting for beauty, for food, or just for fun, a vertical garden is a simple way to bring nature into your life—even if space is limited.
Happy planting!
Have you tried building a vertical garden? Share your favorite plant or DIY tip in the comments below!


