Are you thinking about adding a little personality to your kitchen or bathroom wall? Installing a backsplash might be the perfect weekend project for you. The best part? You don’t need to be a professional to do it. With the right tools, a little patience, and a good attitude, you can install a backsplash yourself and save money while doing it.
Whether you’re looking to refresh your space or take on a new DIY challenge, this guide will walk you through the entire process—from planning to finishing touches.
Can You Really Install a Backsplash Yourself?
The short answer? Yes, you absolutely can!
Installing a backsplash is one of those DIY home improvement projects that’s both achievable and rewarding. You don’t need expensive power tools or advanced carpentry skills. If you can measure, cut, and follow step-by-step instructions, you’re already halfway there.
Why Install a Kitchen or Bathroom Backsplash?
Backsplashes do more than just look pretty. They serve a purpose too. Here are a few good reasons to consider one:
- Protect your walls: They shield your walls from splashes, stains, and heat.
- Add style to your space: Backsplashes come in endless designs, colors, and materials.
- Boost your home value: A freshly tiled backsplash can give your kitchen a more polished, modern look.
Still on the fence? Picture spaghetti sauce splattering behind your stove or water splashing behind your bathroom sink. A backsplash makes cleanup easier and keeps your walls looking fresh.
What You’ll Need Before You Start
Like any good DIY project, successful backsplash installation starts with good preparation. Gather your materials before you begin. Here’s a handy list of the basics:
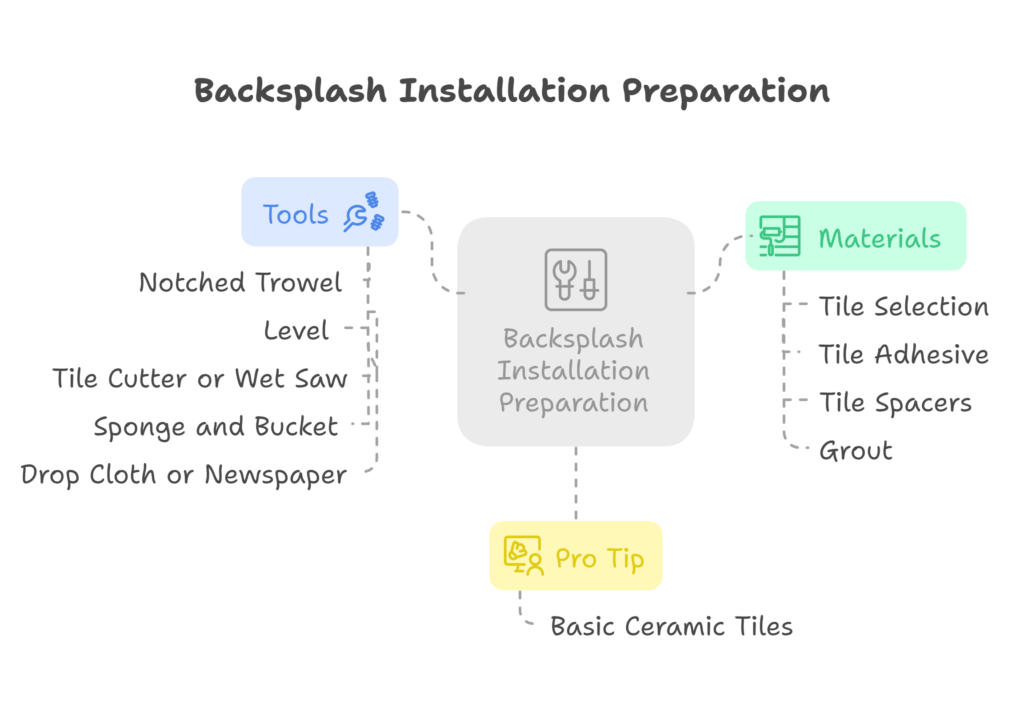
- Tile of your choice (ceramic, glass, peel-and-stick, etc.)
- Tile adhesive (mastic or thin-set)
- Tile spacers
- Grout
- Notched trowel
- Level
- Tile cutter or wet saw
- Sponge and bucket
- Drop cloth or newspaper (to protect your counters)
Pro tip: If this is your first time, start with basic ceramic tiles. They’re easier to cut and install than some other types.
Step-by-Step: How to Install a Backsplash Yourself
Let’s break it down into simple steps so it doesn’t feel overwhelming. You’ve got this!
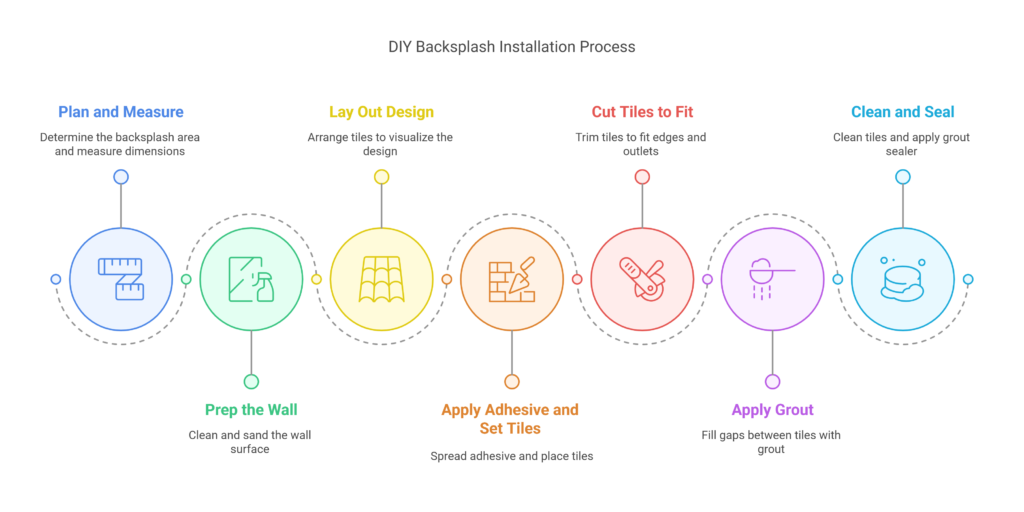
Step 1: Plan and Measure

First, decide where your backsplash will go and how high you want it. Common areas include:
- The wall section between your countertop and cabinets
- Behind your kitchen stove or bathroom sink
Use a measuring tape to determine the number of square feet you’ll cover, so you know how many tiles to buy. Always purchase about 10% more tile than you think you’ll need—this covers any cuts or mistakes.
Step 2: Prep the Wall
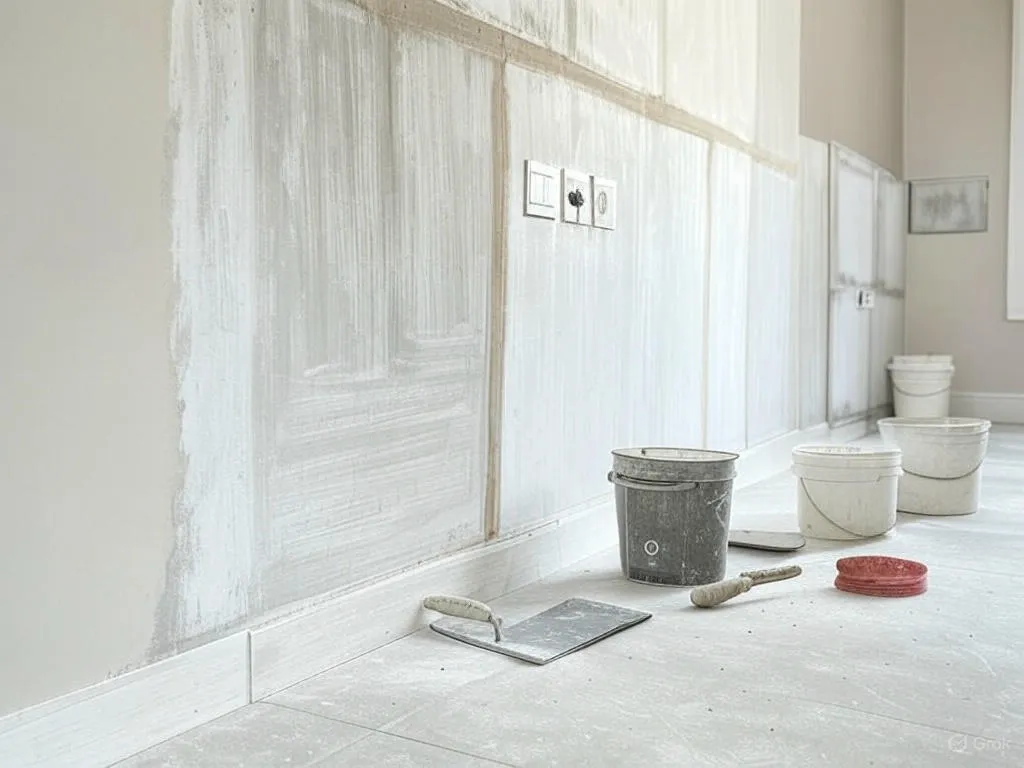
You can’t stick tile to a dirty wall, so clean the area thoroughly. Remove any grease, grime, or old caulk. If your wall is glossy, lightly sand it so the tile adhesive can grip better.
Oh, and turn off any power to electrical outlets in the area—you’ll be removing cover plates later.
Step 3: Lay Out Your Design
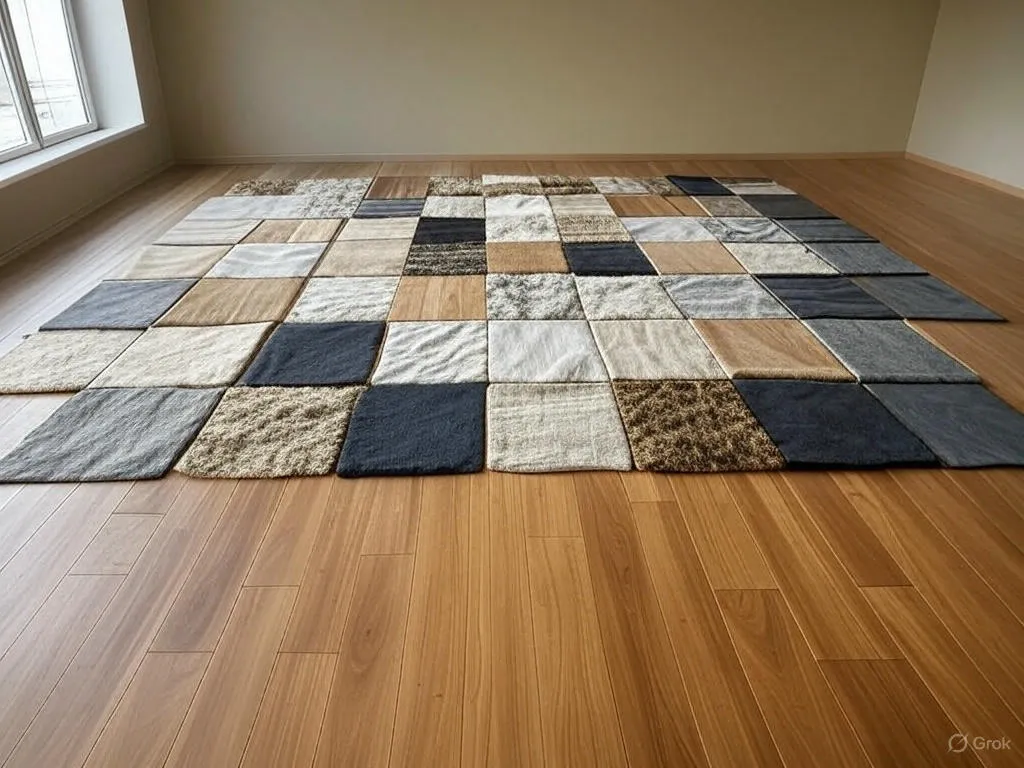
Want a neat, professional look? Do a dry layout on the floor or counter before you glue anything to the wall. This gives you a chance to:
- Test your pattern
- Visualize spacing
- Figure out where to make cuts
Starting in the center and working outward will help things stay symmetrical and balanced.
Step 4: Apply Adhesive and Set Tiles
Using your notched trowel, spread a small section of adhesive on the wall. Press each tile into place, gently twisting it to set it firmly. Use spacers between tiles to keep the gaps even.
Don’t cover too much wall with adhesive at once—the glue can dry quickly. Work in 2-foot sections for best results.
Step 5: Cut Tiles to Fit
Chances are, you’ll hit some edges or outlets that need custom cuts. Measure carefully and use a tile cutter or wet saw to trim tiles as needed. For small or awkward shapes, tile nibblers work well too.
If you mess up a tile or two, don’t sweat it—that’s what your extra tiles are for!
Step 6: Apply Grout
Once your tiles have set for 24 hours, it’s time to grout. Remove tile spacers first. Then use a rubber float to press grout into the cracks between your tiles.
Wipe off any extra grout with a damp sponge—but don’t wait too long. Grout dries fast and can leave a film if you’re not careful.
Step 7: Clean and Seal
After letting your grout dry (usually about a day), go back and clean the tiles to remove any haze. If you’re using a porous tile or grout, apply a grout sealer to prevent stains down the road.
Tips to Make the Job Easier
Here’s where a few insider secrets can help you out:
- Use a laser level for perfectly straight lines.
- Have a second set of hands—even just for moral support and keeping tiles aligned.
- Mix adhesive and grout in small batches so it doesn’t dry out.
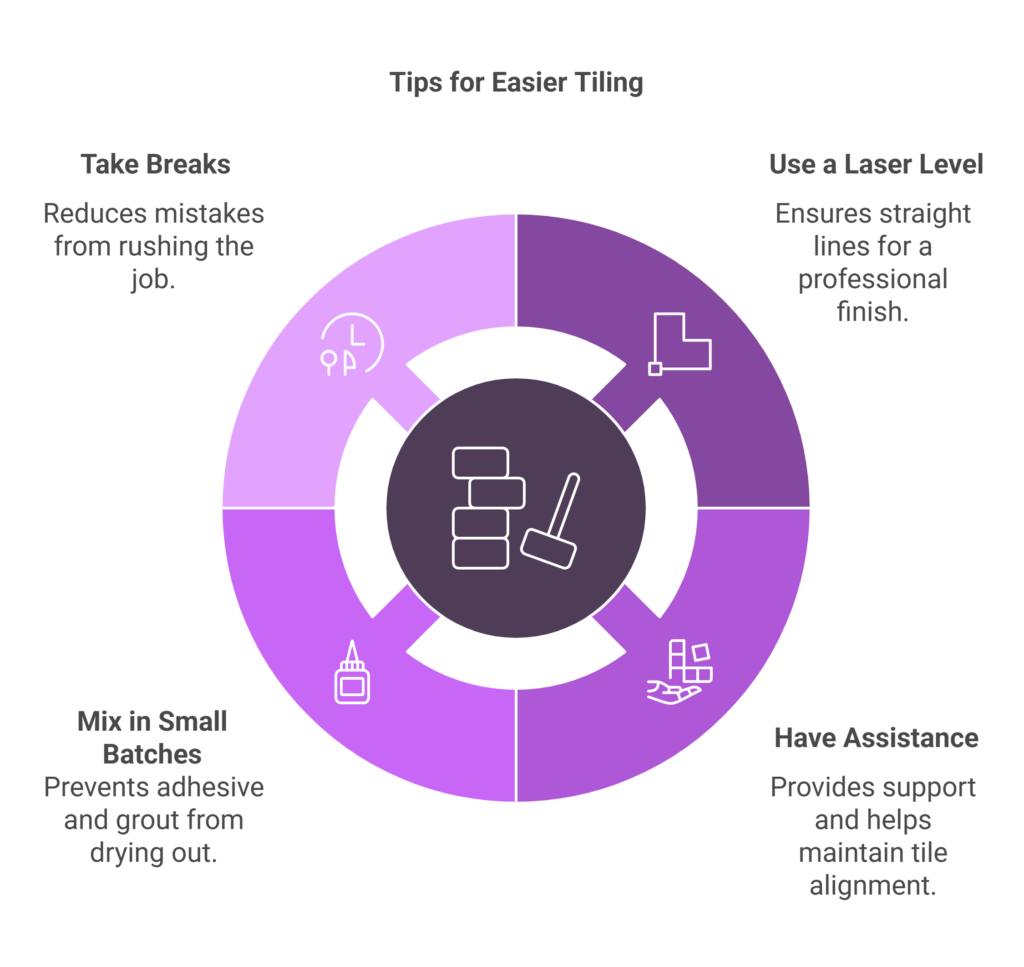
And don’t forget to take breaks. Rushing through the job can lead to crooked lines and costly mistakes.
Common Mistakes to Avoid
We all make mistakes—but it helps to know what to watch for:
- Skipping wall prep—adhesive won’t stick to dirty surfaces.
- Not using spacers—this leads to uneven grout lines.
- Not waiting long enough before grouting—tiles can shift if not set properly.
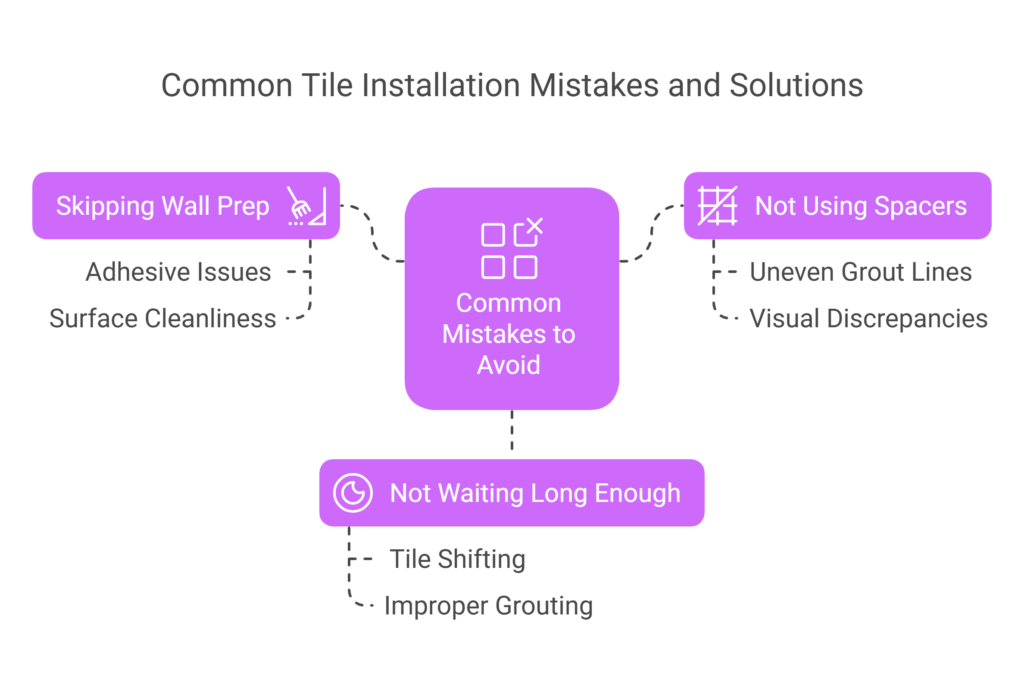
Learn from others so you can enjoy your DIY success the first time around.
Final Thoughts: Is DIY Backsplash Installation Worth It?
If you’re hoping to add your personal touch and save some cash, installing a backsplash yourself is totally worth it. It might feel intimidating at first, but once you start laying those first few tiles, you’ll quickly find your rhythm.
I still remember when I installed my first backsplash. I was nervous, double-checking every tile. But by the end, I felt an incredible sense of pride—and trust me, you will too.
So grab your tools, throw on your favorite playlist, and dive in. Your future self (and your walls) will thank you.
Ready to Start Your DIY Backsplash Project?
Why wait? With a little time and confidence, you can transform your kitchen or bathroom wall into something beautiful. And remember, every expert was once a beginner—so don’t be afraid to take that first step.
If you’ve already tackled a backsplash project at home, share your tips and stories in the comments—we’d love to hear how it went!


