Ever dreamed of growing your own potatoes but don’t have a lot of garden space? You’re not alone. The solution might be easier (and more fun) than you think: a DIY potato tower! Imagine growing pounds of fresh, homegrown potatoes in a compact space. Sounds great, right? Let’s walk through how you can make it happen—even if you’re short on space.
What Is a Potato Tower?
Think of a potato tower as a vertical container garden designed just for spuds. Instead of spreading your potato plants out in a garden bed, you grow them upwards in layers. As the plants grow, you keep adding more soil or compost, encouraging the plants to produce more tubers along the stem.
This method is perfect for small yards, balconies, or even patios. Whether you’re a seasoned gardener or just starting out, potato towers are a super practical (and rewarding!) project.
Why Build a Potato Tower?
Still on the fence? Here are a few solid reasons to give potato towers a try:
- Space-saving: Great for small yards, balconies, or urban gardens.
- Higher yield: More vertical space means more potatoes per square foot.
- Easy to maintain: Less weeding, simplified watering, and compact design.
- Fun DIY project: Great for kids and beginner gardeners alike.
- Harvest made easy: To pick your potatoes, simply remove the layers one at a time!
I built my first potato tower last spring using materials I already had in my garage. Not only did it save space in my garden, but I harvested nearly 20 pounds of potatoes from one tower—pretty amazing, right?
What You’ll Need to Build a Potato Tower
You don’t need fancy tools or supplies for this. Most of the materials are budget-friendly and easy to find. Here’s a basic list:
- Wire fencing or chicken wire (about 4 feet tall)
- Garden stakes or wooden posts
- Straw or dried leaves
- Compost and soil mix
- Seed potatoes (make sure they’re sprouting!)
- A shovel or garden trowel
- Zip ties or garden twine
You can also customize your tower using repurposed materials—think an old laundry basket, a stack of tires, or even a wooden crate!
Step-by-Step: How to Build Your Potato Tower

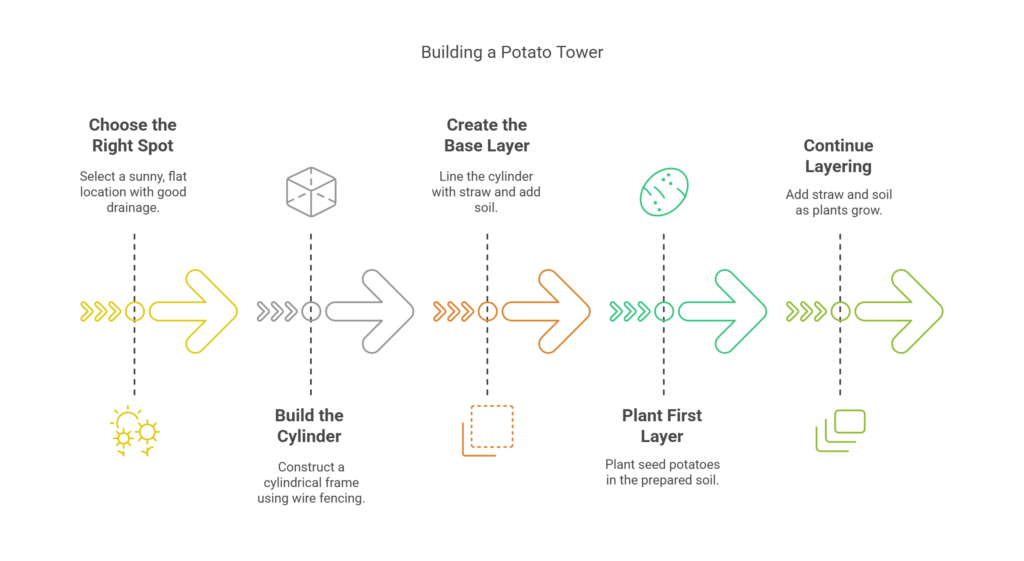
Step 1: Choose the Right Spot
Start by picking a sunny location. Potatoes love sunlight, so aim for a spot that gets at least 6–8 hours of sunlight daily. Make sure the area is flat and has good drainage.
Step 2: Build the Cylinder
Shape your wire fencing into a circular cylinder about 2–3 feet wide and 4 feet high. Secure the ends with zip ties or twine. Place the cylinder upright and anchor it into the ground using your wooden stakes for stability.
Step 3: Create the Base Layer
Line the inside of the cylinder with straw or dried leaves. This will act like a “nest” for the soil and help retain moisture. Next, shovel in about 6 inches of your soil-compost mix at the bottom.
Step 4: Plant Your First Layer
Place your sprouted seed potatoes on the soil, spacing them about 4–6 inches apart. Cover them with another 6 inches of soil.
Pro tip: Keep the sprouts pointing up to help your plants grow straighter and stronger.
Step 5: Keep Building as They Grow
As the potato plants grow 6–8 inches tall, add more straw and soil around the stems, leaving the top few inches of leaves exposed. Repeat this “layering” process every week or two until you reach the top of the tower.
How to Take Care of Your Potato Tower
Potato towers are pretty low-maintenance, but a little care goes a long way. Here’s how to keep your potatoes happy:
- Water regularly: Make sure the soil stays moist but not soggy. Water near the base so the roots get what they need.
- Add soil when needed: Don’t forget to keep adding layers as the plant grows!
- Watch for pests: Look out for beetles and aphids. A quick spray with soapy water can do the trick.
In my first year, I almost forgot to water for an entire week—oops! But the tower forgave me, and the potatoes still turned out great. The key is to check in every few days.
When and How to Harvest Your Potatoes
So, when’s the right time to start digging? When the plants at the top start to yellow and die back, that’s your signal. The potatoes are ready!
To harvest, gently remove the straw and soil layers from the top down. As you go, you’ll uncover those golden tubers—like digging for buried treasure!
And here’s the best part: You can harvest only what you need and leave the rest in the tower for later. Super convenient, right?
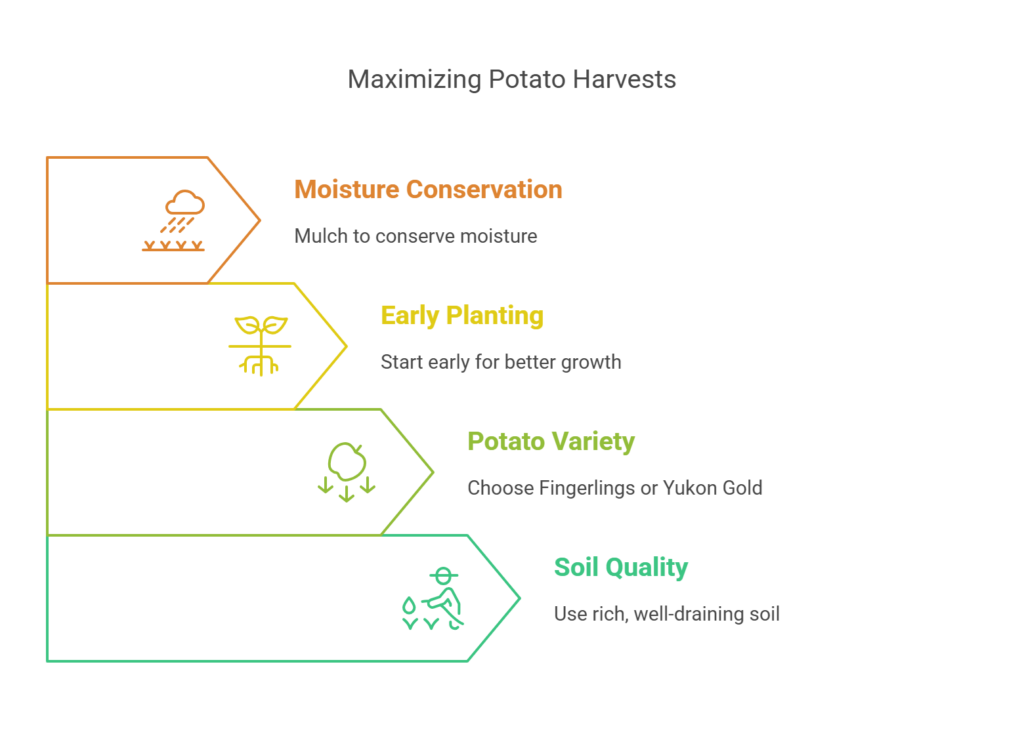
Tips for an Even Bigger Harvest

If you’re aiming for a record-breaking tower of potatoes, keep these tips in mind:
- Use rich, well-draining soil.
- Choose the right potato variety. Fingerlings and Yukon Gold are great for towers.
- Start early in the season to give your plants time to grow.
- Mulch around the base to conserve moisture.
One year, I experimented with two towers side by side—one with store-bought compost and the other with homemade. The homemade compost produced twice as many potatoes! It’s proof that the quality of your soil matters a lot.
Final Thoughts: Is a Potato Tower Worth It?
Absolutely. Whether you’re tight on gardening space or just looking for a new DIY adventure, a potato tower is worth the effort. They’re easy to build, fun to maintain, and incredibly satisfying come harvest time.
Plus, there’s nothing quite like the taste of homegrown potatoes. Crispy roasted, mashed with butter, or turned into fries—you’ll never look at store-bought potatoes the same again.
Ready to Build Your Own?
If you’ve made it this far, chances are you’re ready to roll! So grab your tools, track down some sprouted spuds, and let’s get growing. Your DIY potato tower might just be the beginning of your vertical gardening journey.
Got your own potato-growing tips or tower hacks? Drop them in the comments below—let’s grow together!


